


Decided to get serious with it now!
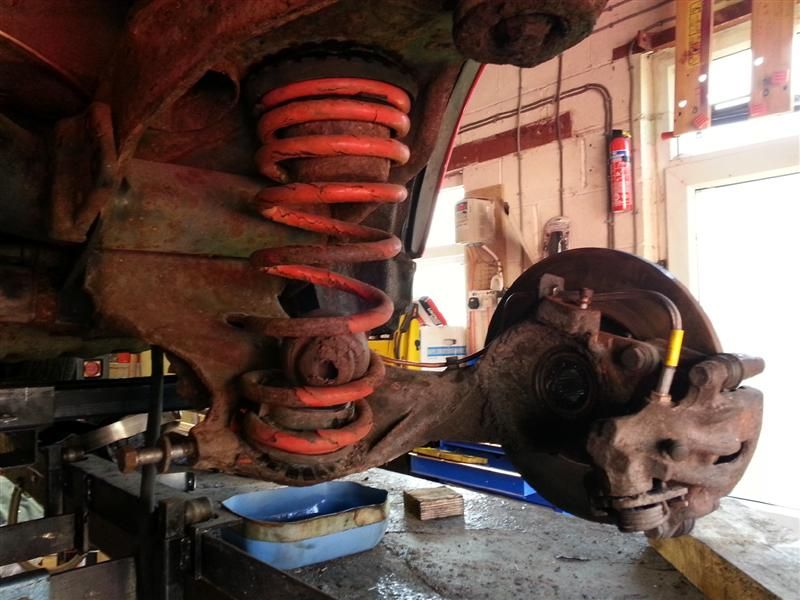
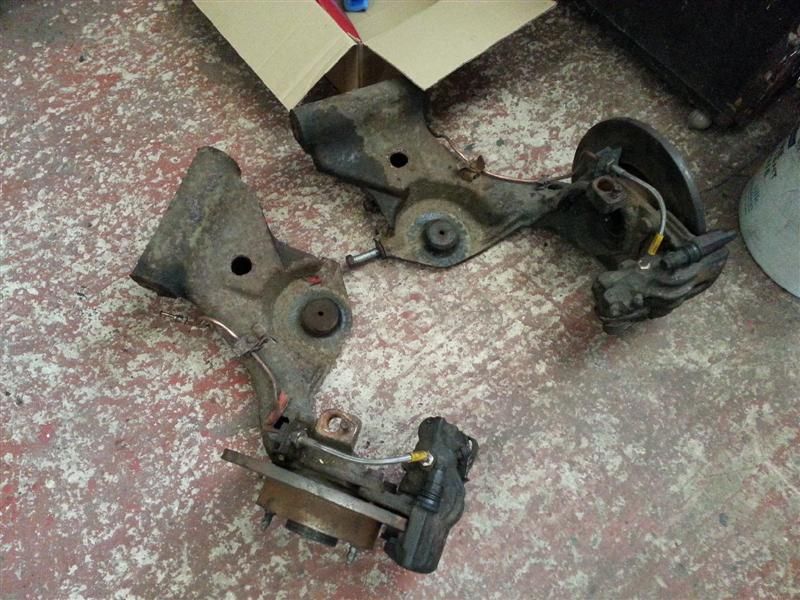
Everything removed ready for dropping the rear diff and subframe tomorrow.
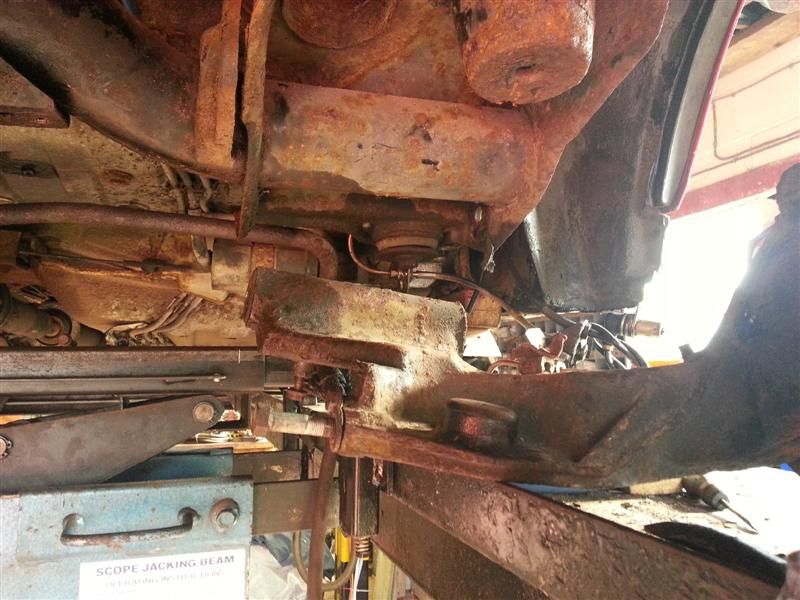
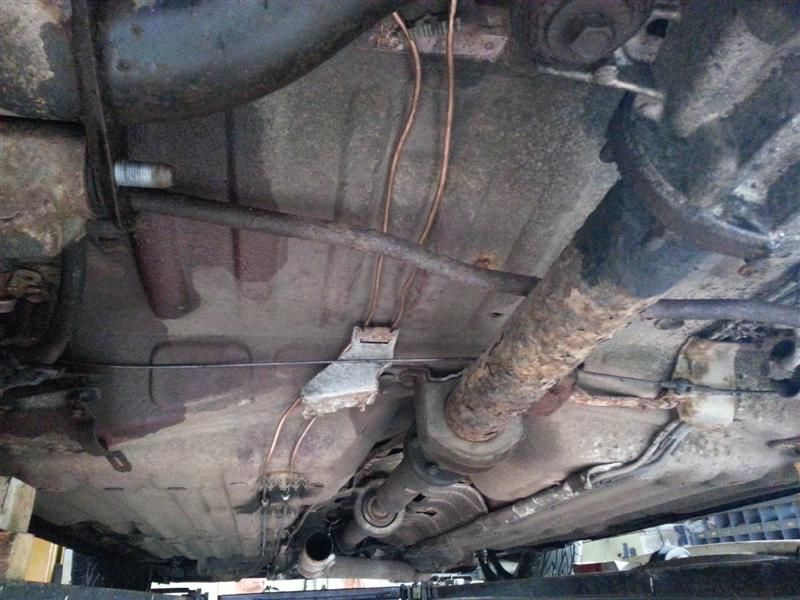
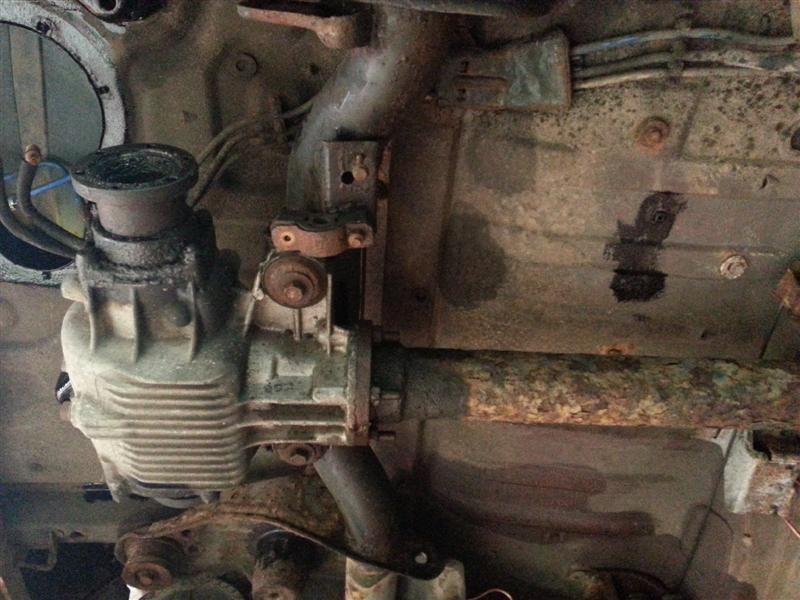
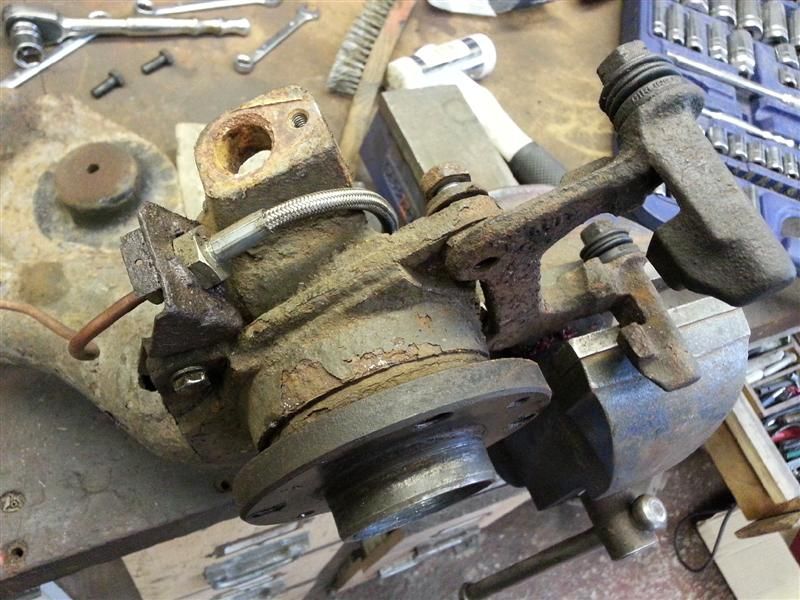
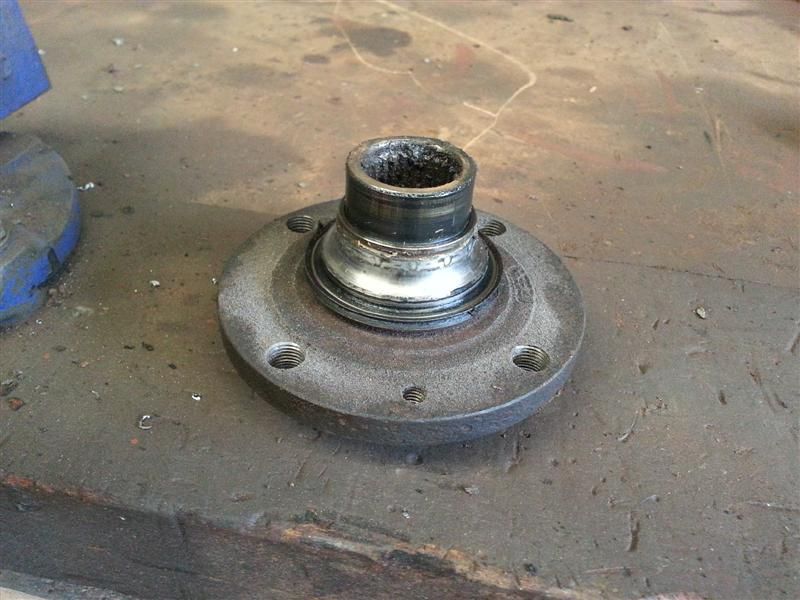
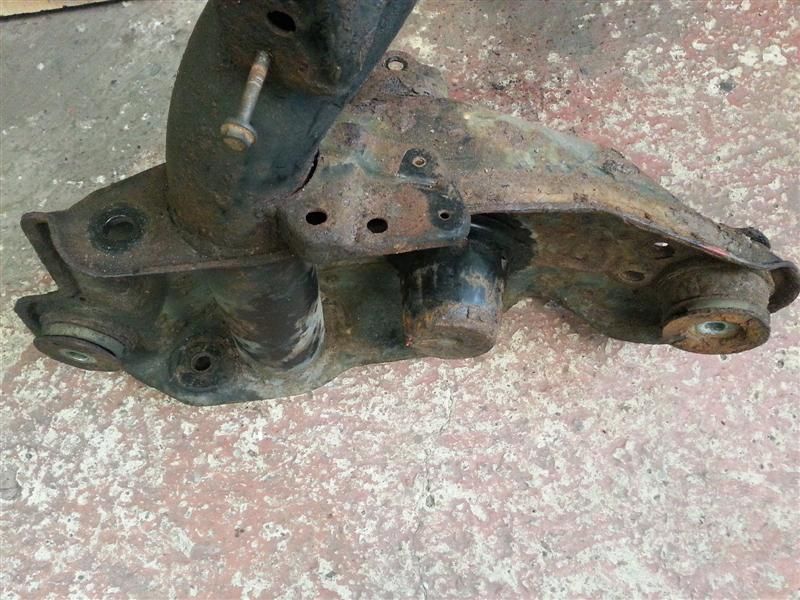
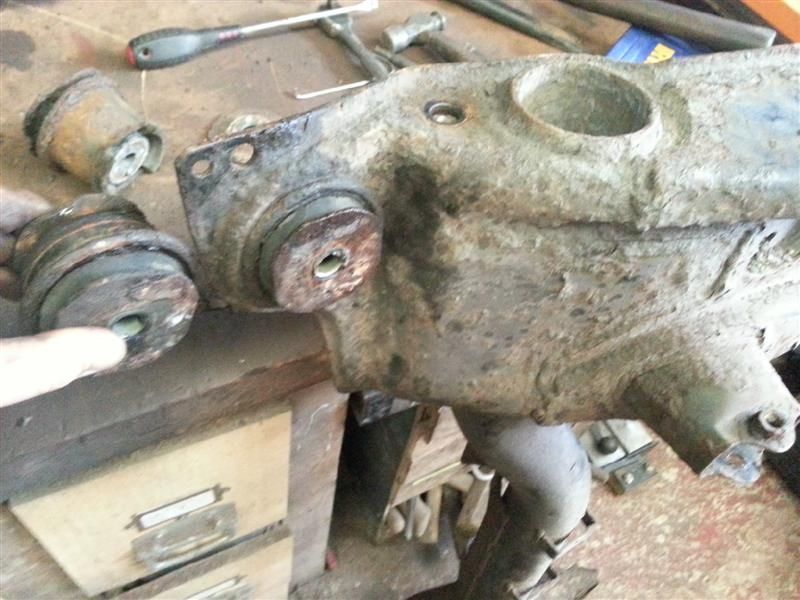
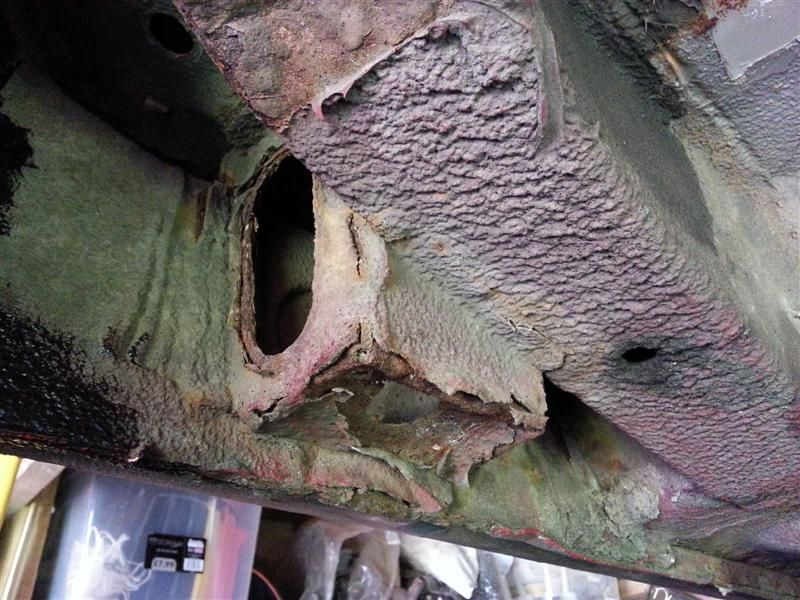
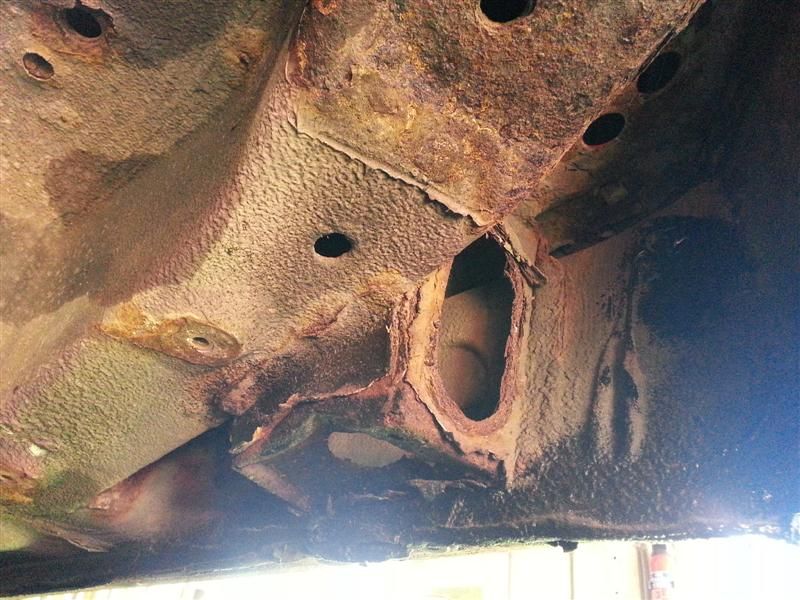
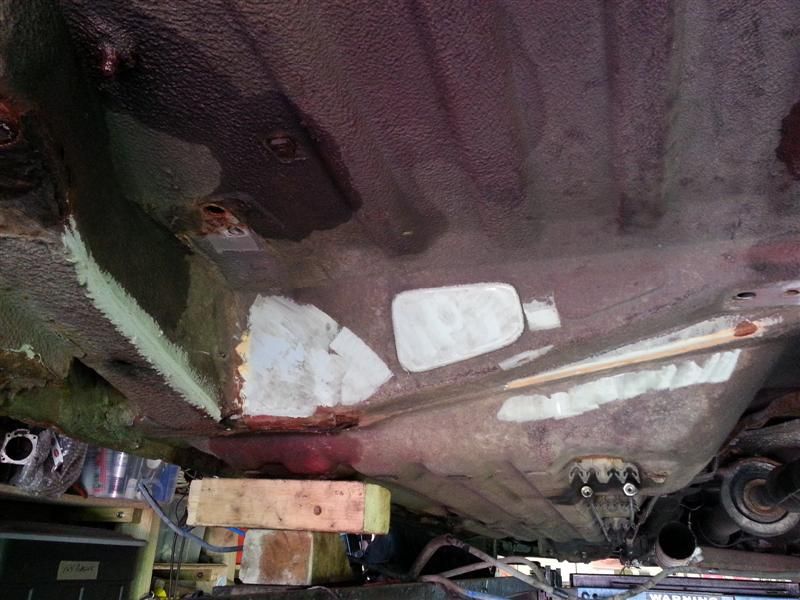
Crusty!
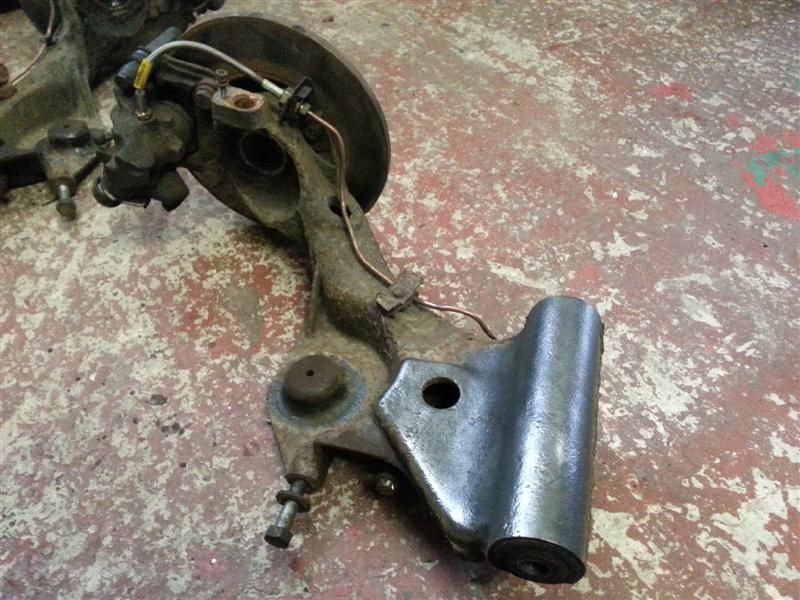
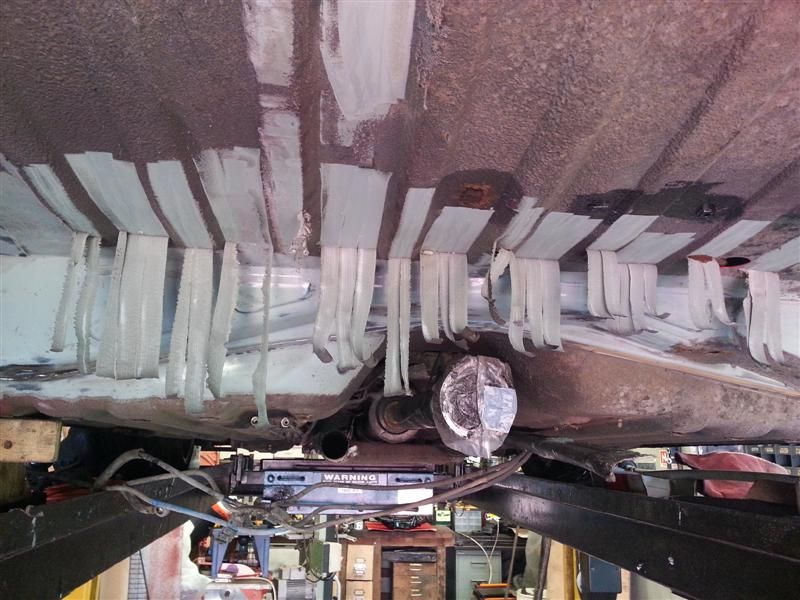
Trailing arm at full drop!
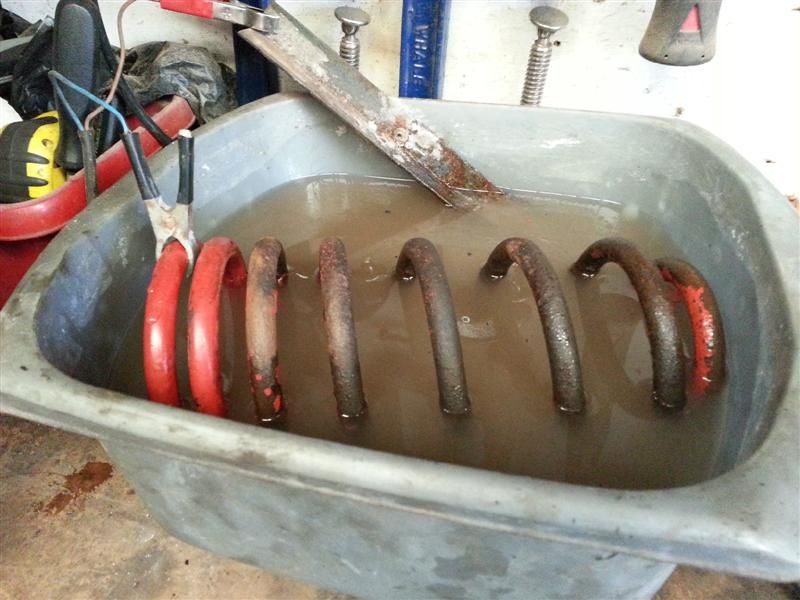
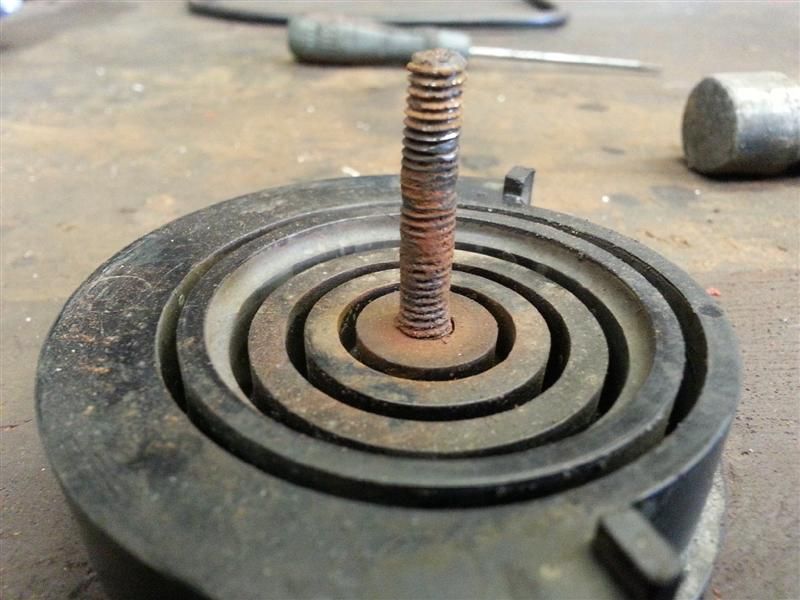
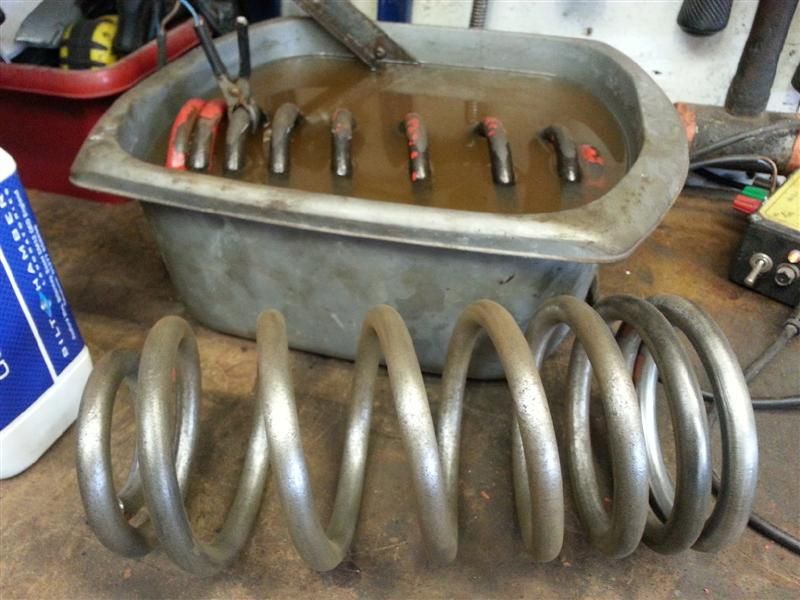
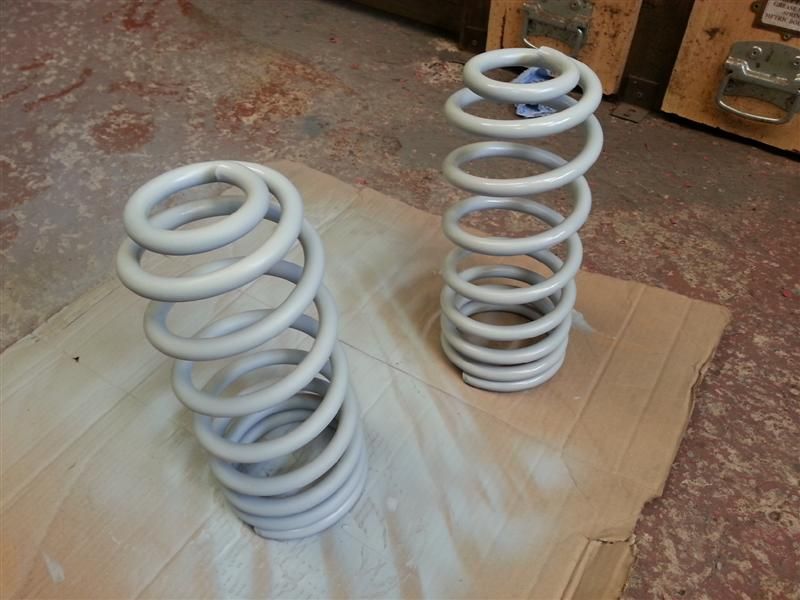
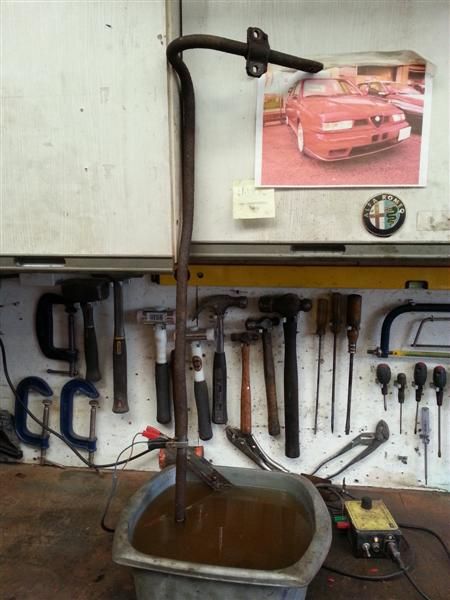
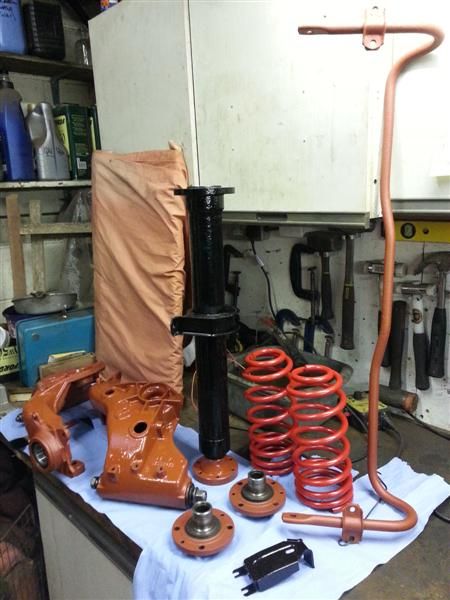
Spring removed and in the bath.
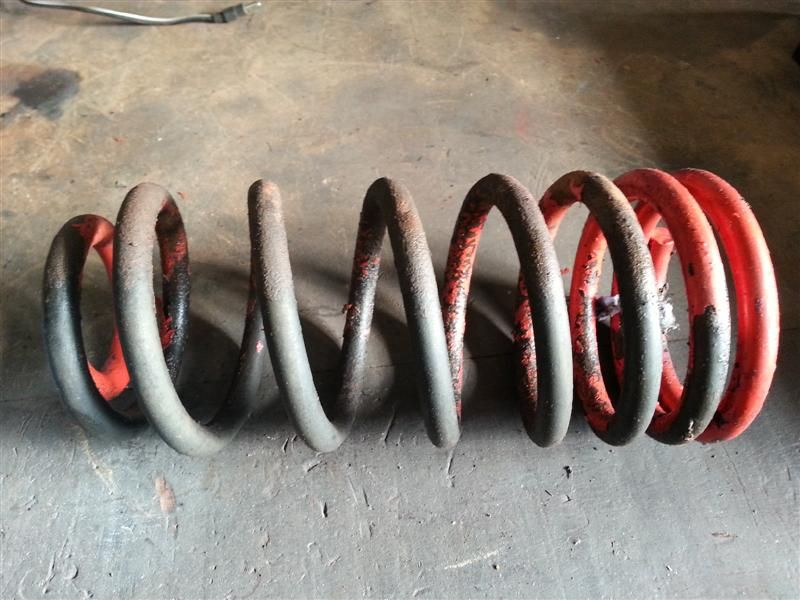
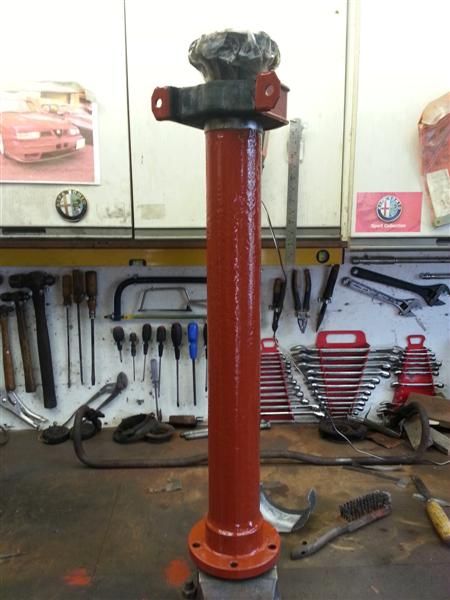
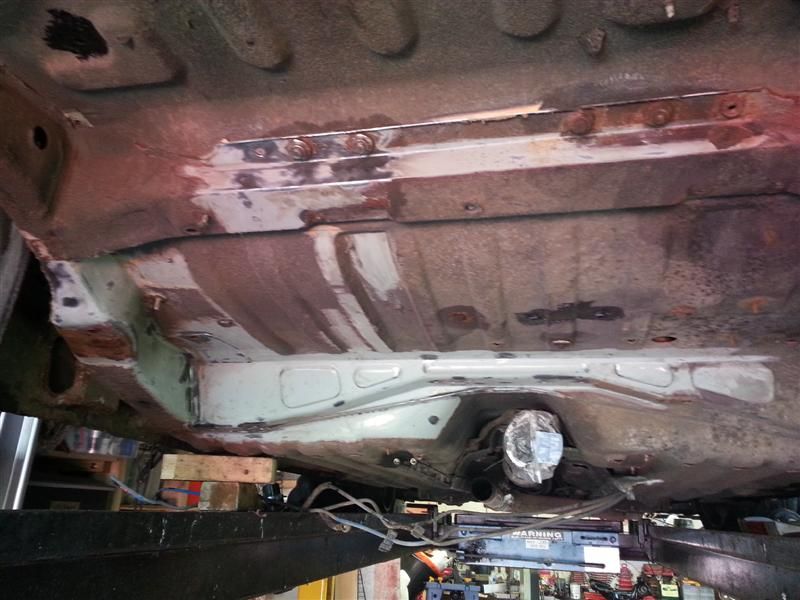
Halfway there, dramatic difference.
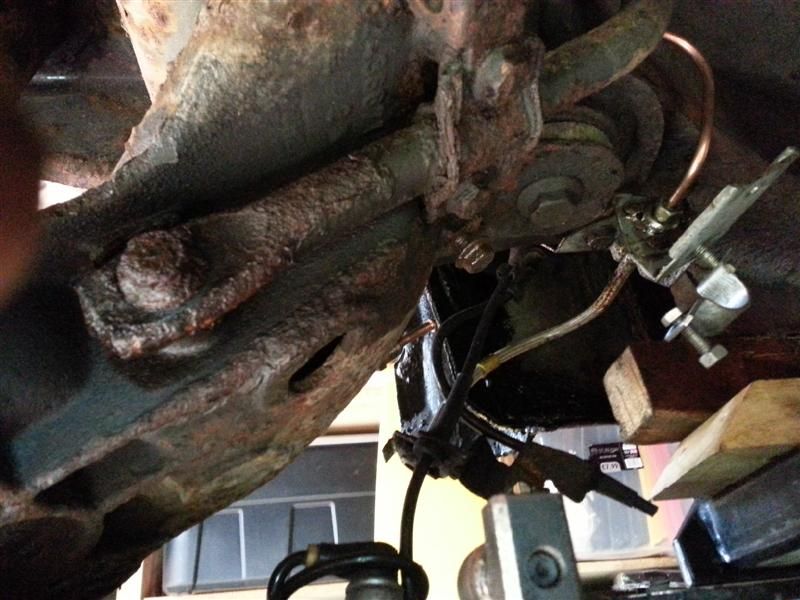
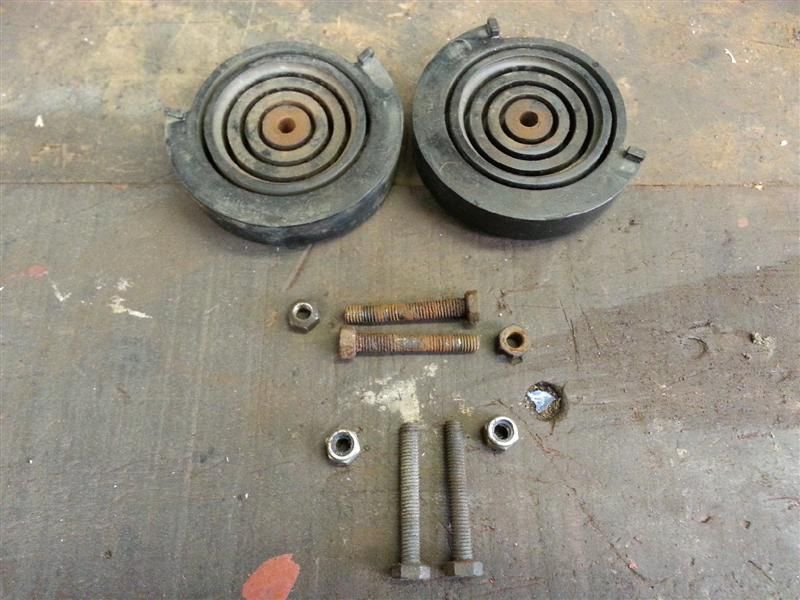
Anti-roll bar bolts; always a bit tricky but these came of with a bit of care...and an Irwin on one!
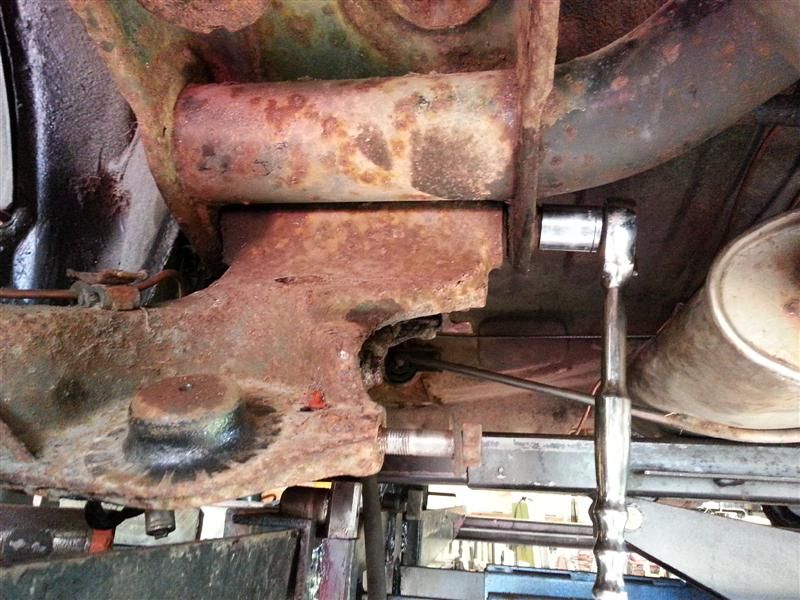
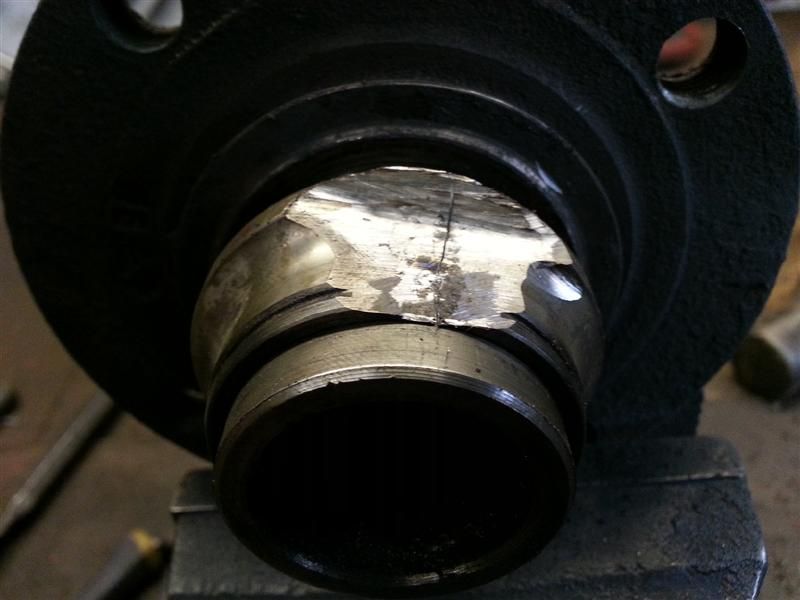
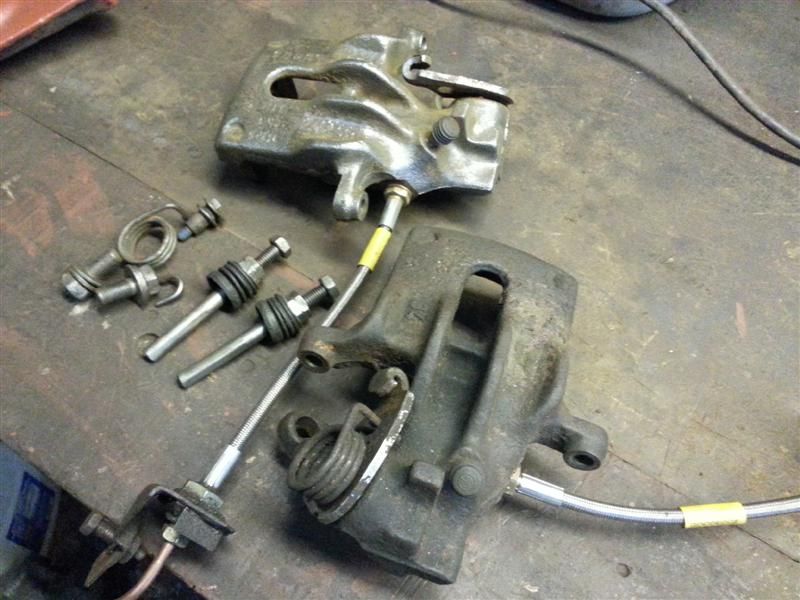
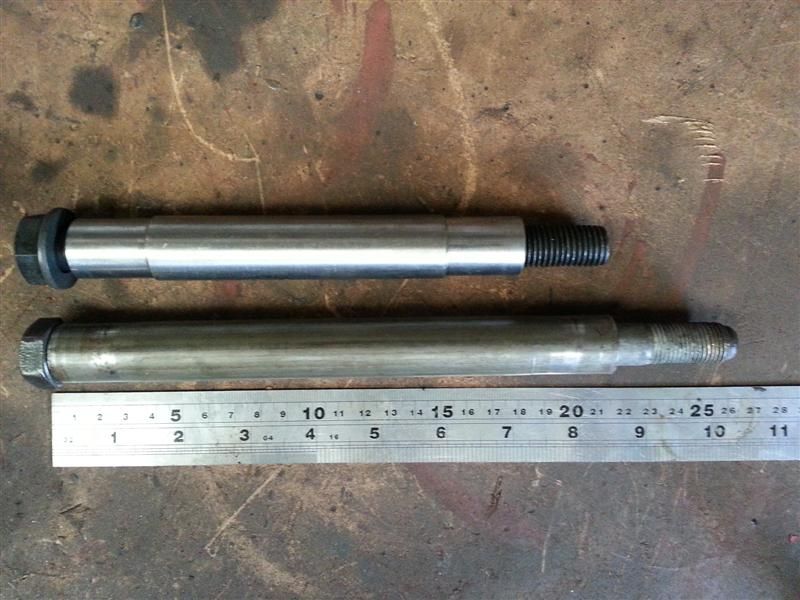
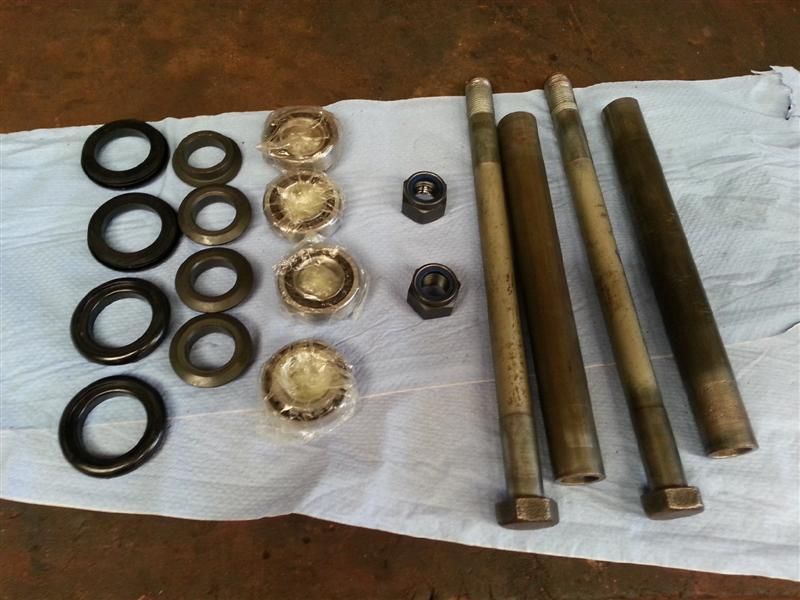
Onto the big bolts.
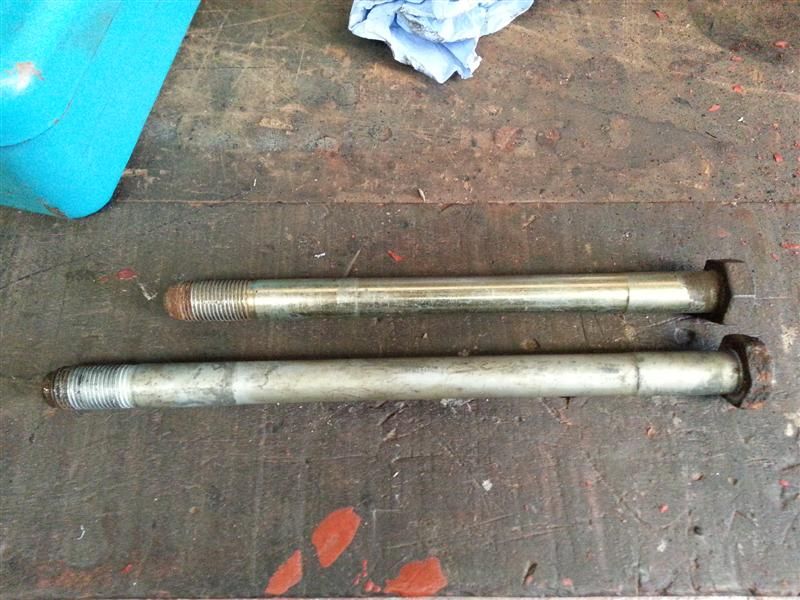
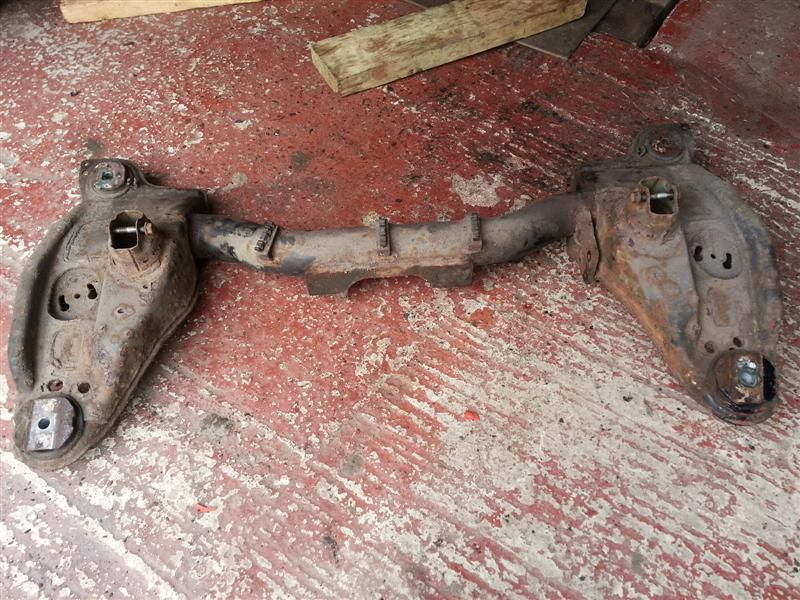
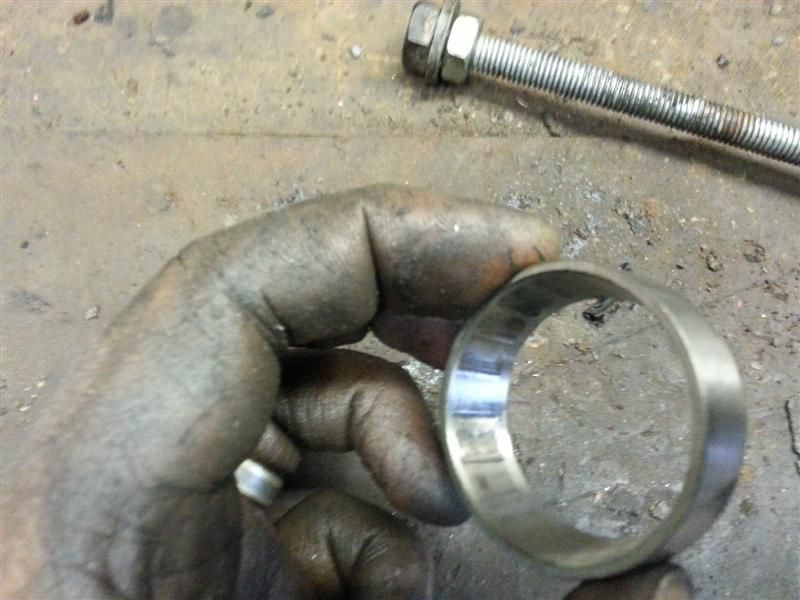
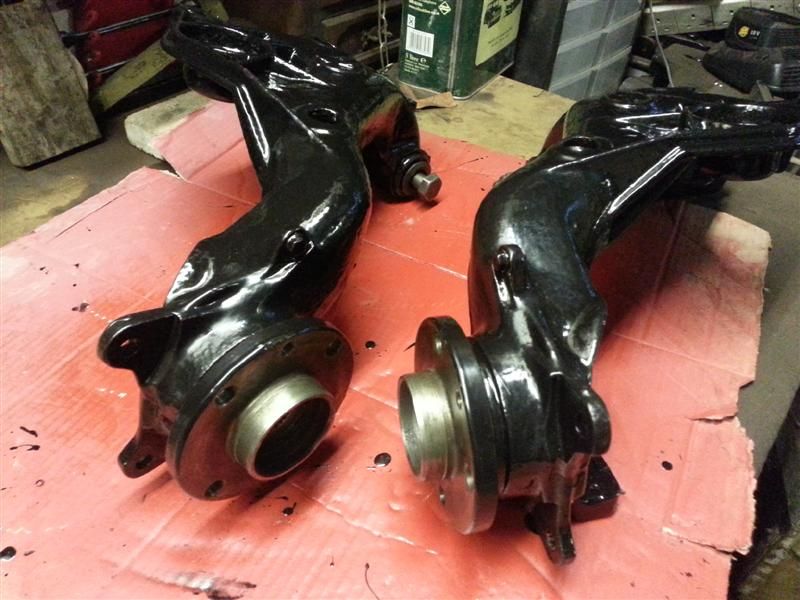
Compared with one from my old non-Q4 155.
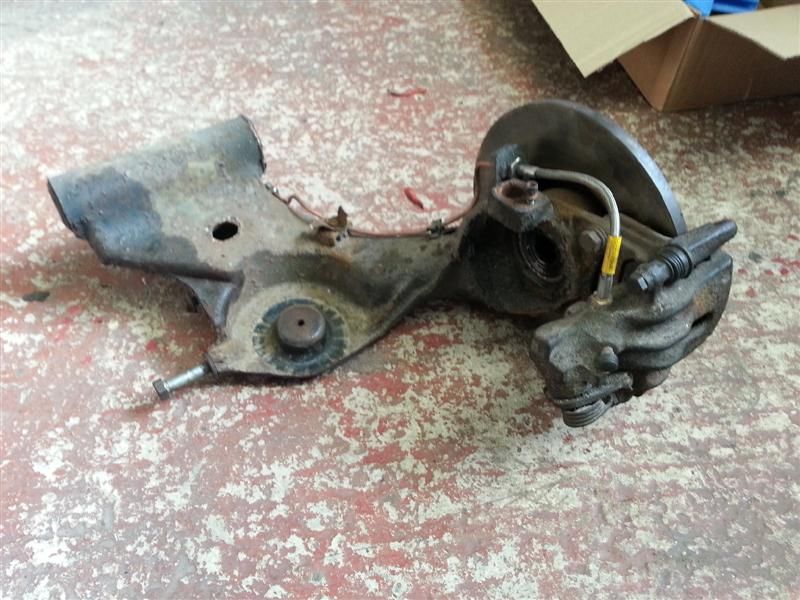
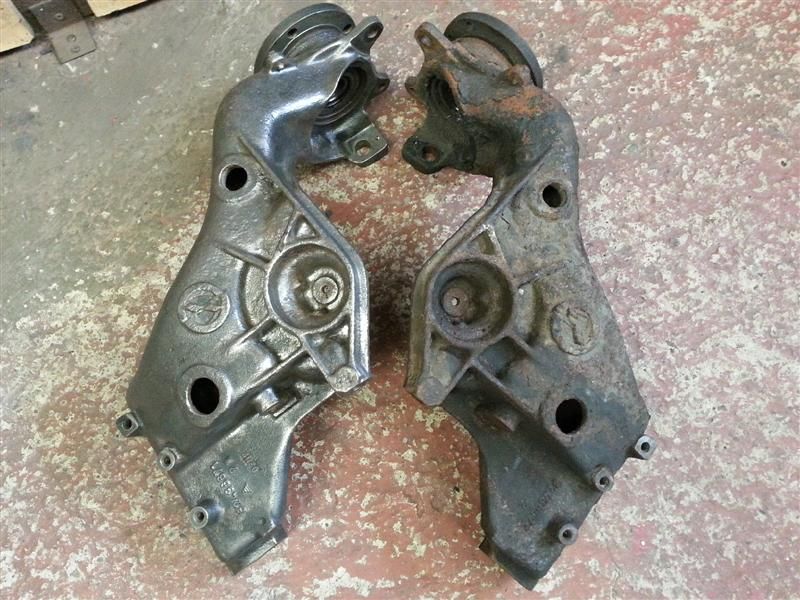
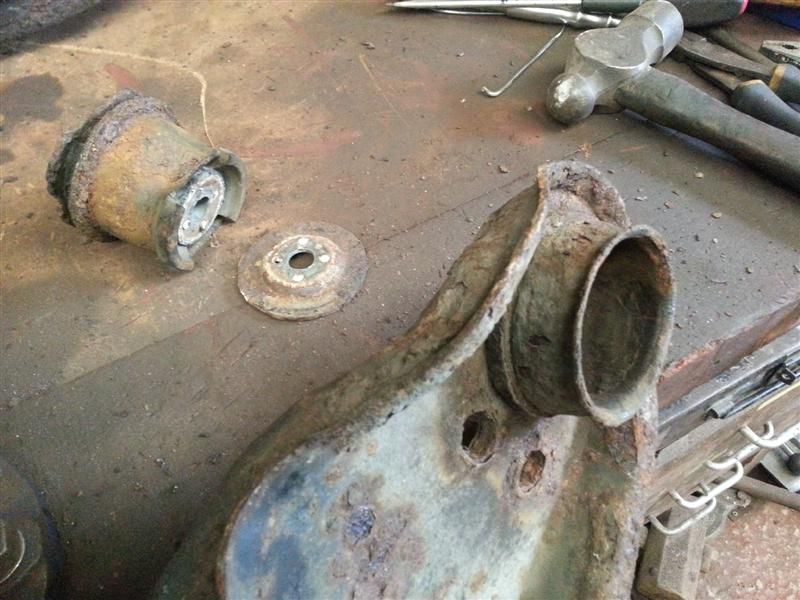
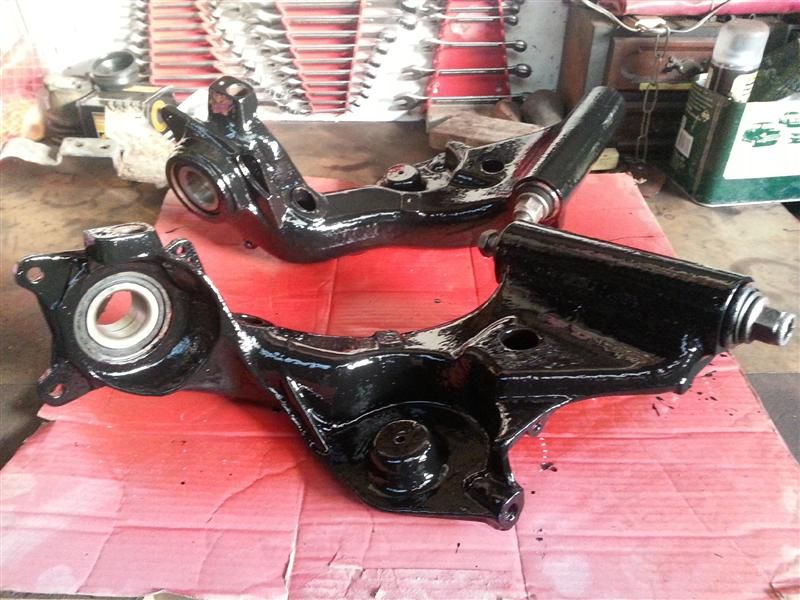
Arms out.
Exhaust removed.
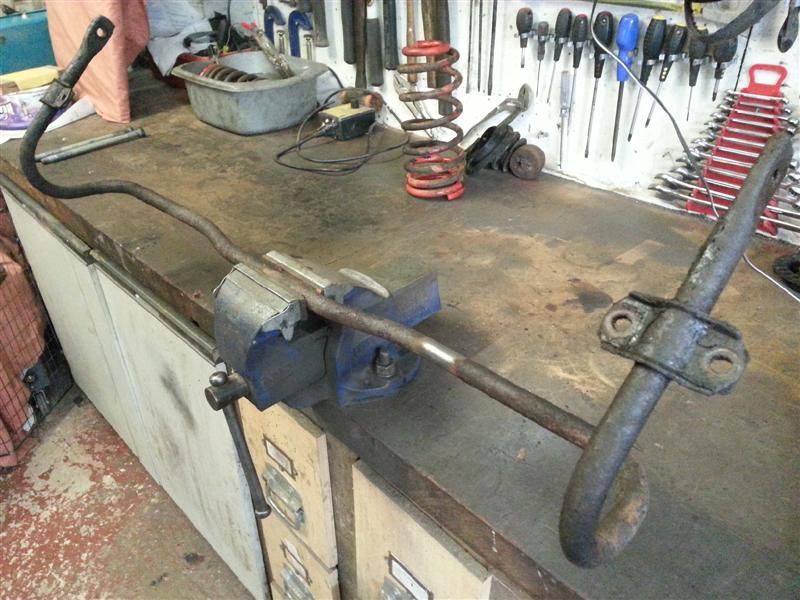
Anti-rollbar off...how thick should they be, I reckon I've lost 2mm in rust!
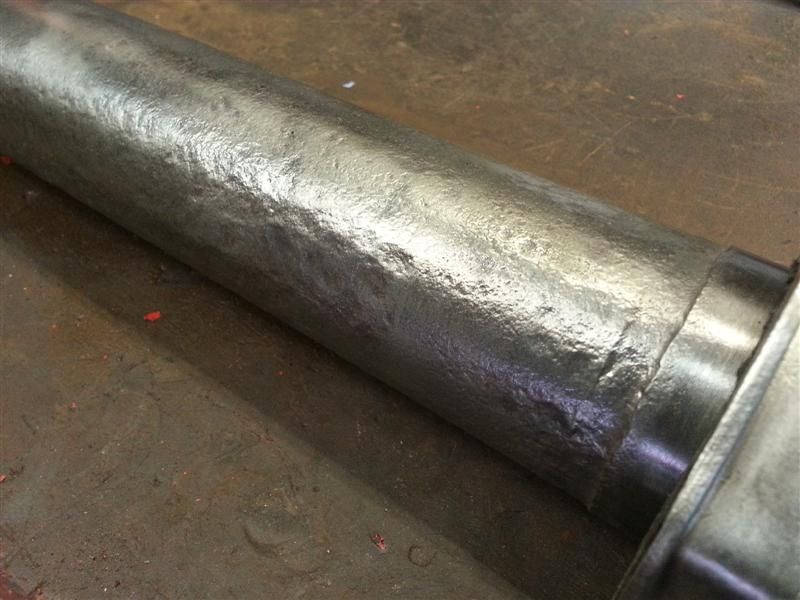
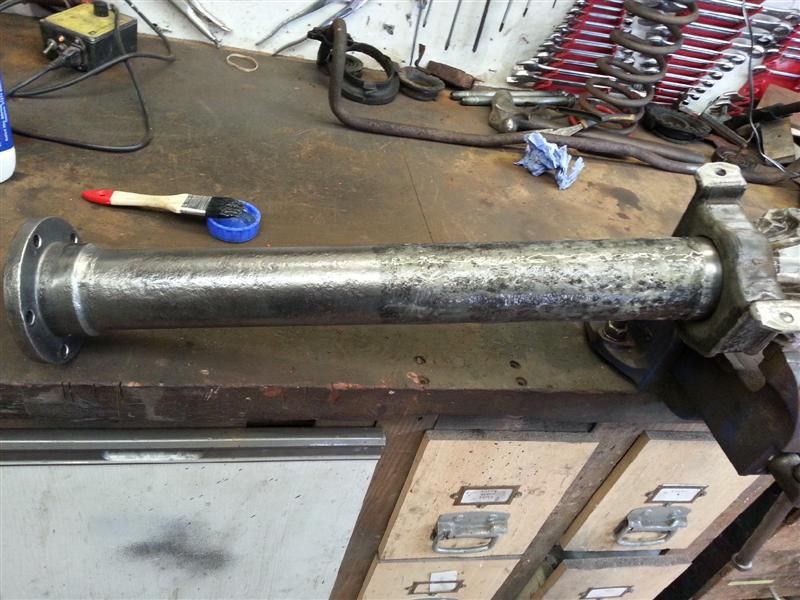
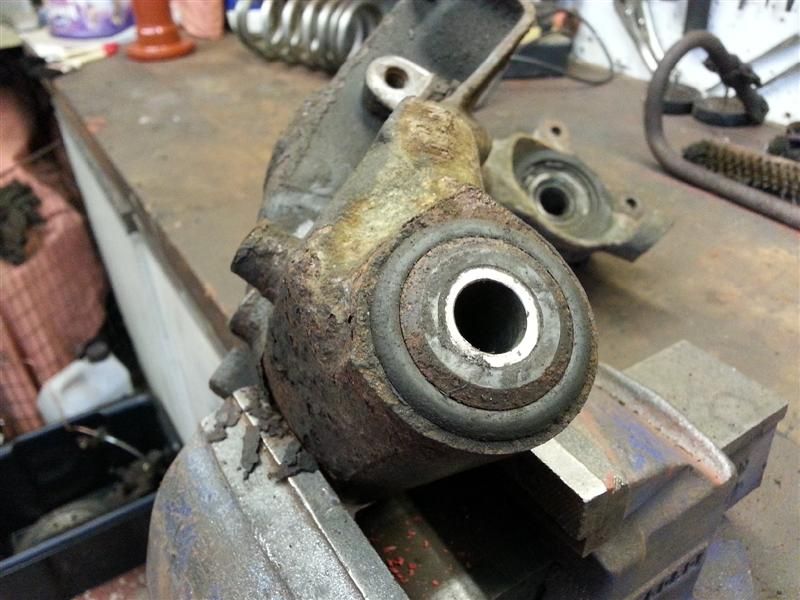
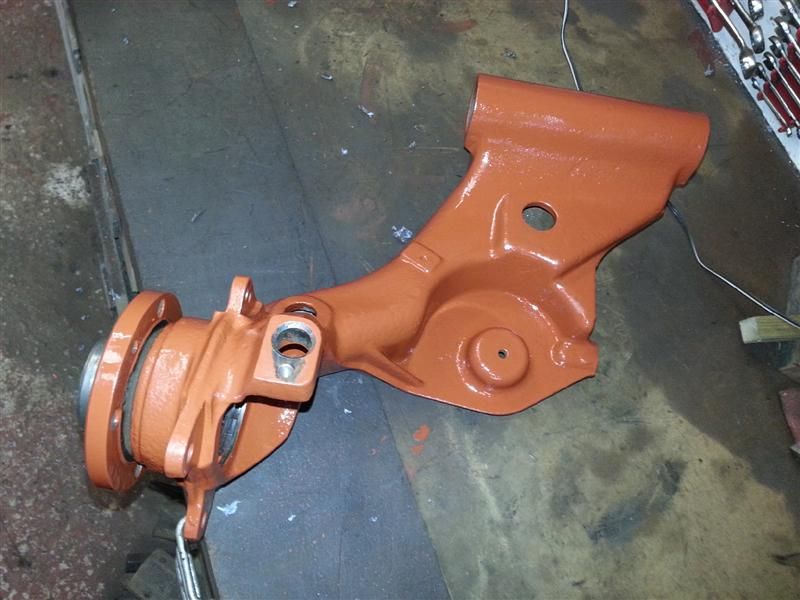
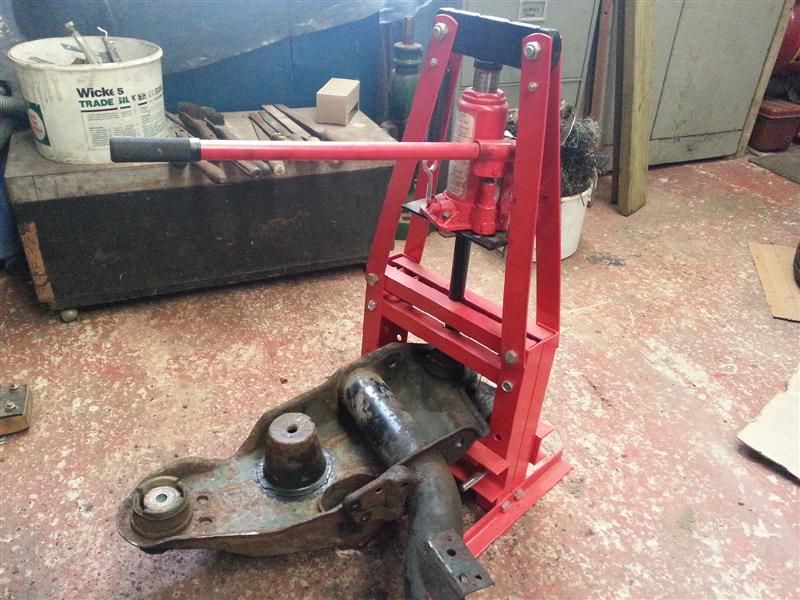
Had a quick five minutes play with the grinder and wire wheel, it should clean up ok.
The only question remains...wire wheel and several coats of enamel paint or sandblast and powder coating. Ignoring the effort and time involved in the former is the latter really worth the difference? I've read of it chipping easily and not lasting very long
wrinx


 Reply With Quote
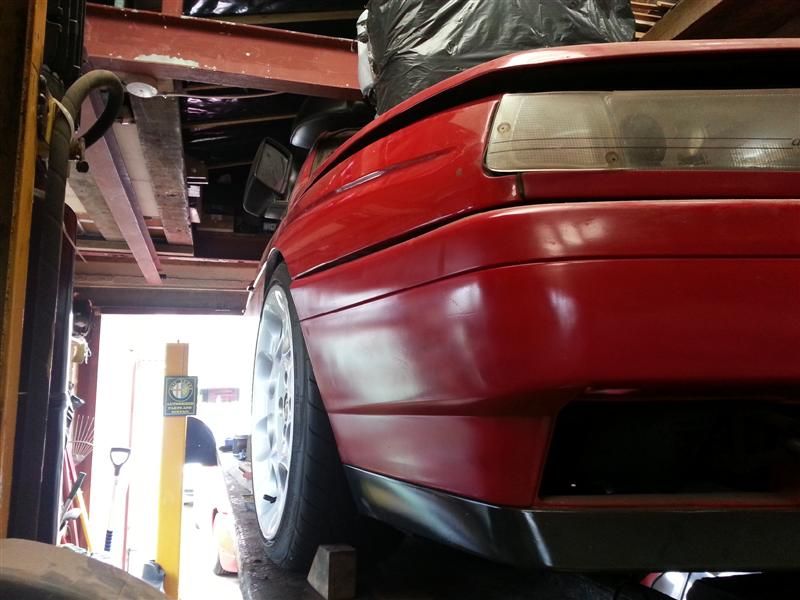


Bookmarks